Headshot makeup has one job: make you look like your best, camera-calibrated self. That means a matte or satin finish, slightly more pigment in the areas cameras flatten, and zero shimmer or SPF that bounces light back at the lens. Three rules get you most of the way there.
- Match your foundation to your neck, not just your jawline.
- Define your brows. They frame your whole face in a tight crop.
- Choose a lip shade one notch deeper than what you'd wear on a Tuesday.
Success looks like this: you, only rested. Polished, recognizable, and with your eyes still doing the talking.
TL;DR:
- Foundation should be tested along the jawline and neck in natural daylight to prevent mismatches, with matte or satin finishes preferred for camera clarity.
- Avoid SPF, strong actives, and aggressive exfoliation in the days before to prevent redness or flakes that appear on camera.
- Eyes and brows should be defined with soft matte shadows and tightlining, with brows slightly darker and brushed upward for better camera reading.
- Lip and blush shades need to be one notch deeper and slightly stronger than usual to compensate for camera washout, applied in thin layers.
- Hiring a professional experienced in headshot makeup is recommended for high-stakes shoots to ensure proper application and flash-safe products.
Table of Contents
- Skin Prep for Your Headshot: A Seven-Day Countdown
- Foundation and Finish: What Actually Reads on Camera
- Camera-Safe Eyes and Brows That Still Look Like You
- Lips and Blush: Choosing Color That Survives the Camera
- A 7 to 10 Minute Routine to Follow the Morning of Your Shoot
- Common Headshot Makeup Mistakes and Quick Fixes
- What to Pack in Your On-Set Touch-Up Kit
- When Should You Hire a Professional for Headshot Makeup?
- Key Takeaways
- Sources
- FAQ
Skin Prep for Your Headshot: A Seven-Day Countdown
Your skin needs a runway, not a rush job. Photographers who shoot headshots daily see the same mistake constantly: someone tries a new serum four days before the shoot and shows up with a reaction makeup can't hide.
Here's the timeline that actually works.
- Seven days out: Stick to your normal routine. This is not the week to test anything new.
- 48 to 72 hours out: Pause strong actives like retinol or glycolic acid. Pro guides recommend stopping them two to three days ahead to avoid redness, flaking, or peeling on camera.
- 24 hours out: Skip aggressive exfoliation, facials, or in-office treatments that can leave skin flushed or sensitive.
- Day of: Use a light moisturizer and a primer suited to your skin type. Leave SPF out of your makeup layer entirely.
If you need sun protection before you even get to the shoot location, apply it at least 30 minutes ahead of makeup, then build your look with SPF-free products on top.
Pro Tip: If your skin runs oily, a mattifying primer applied only to your T-zone (not your whole face) keeps shine down without flattening your natural texture.
Foundation and Finish: What Actually Reads on Camera
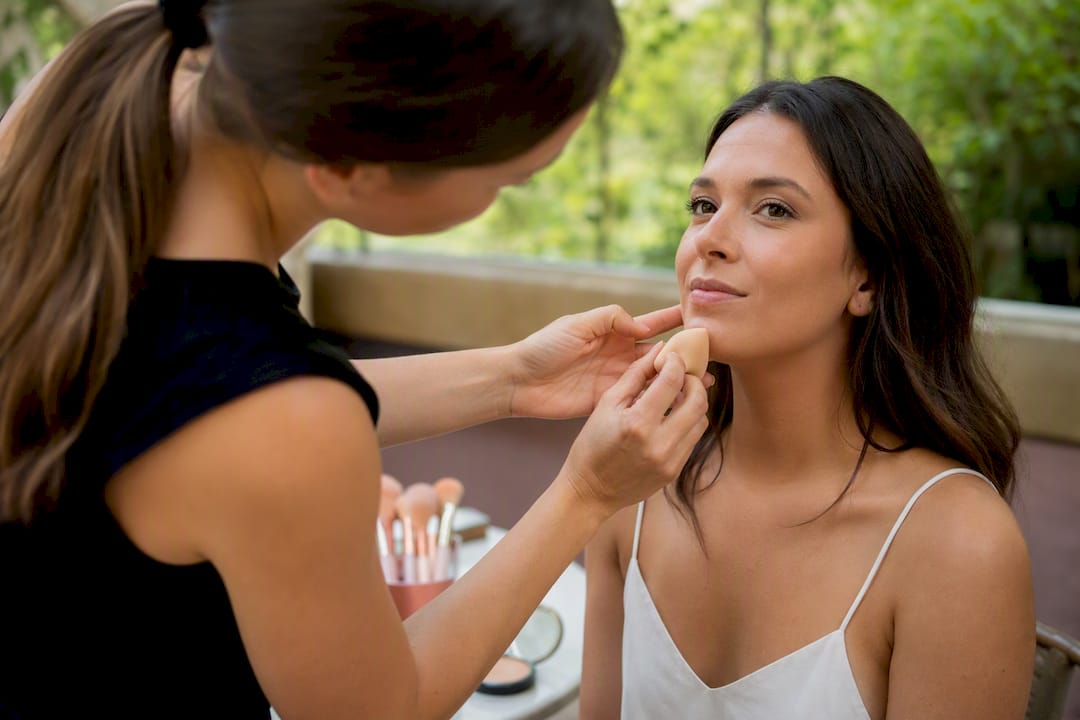
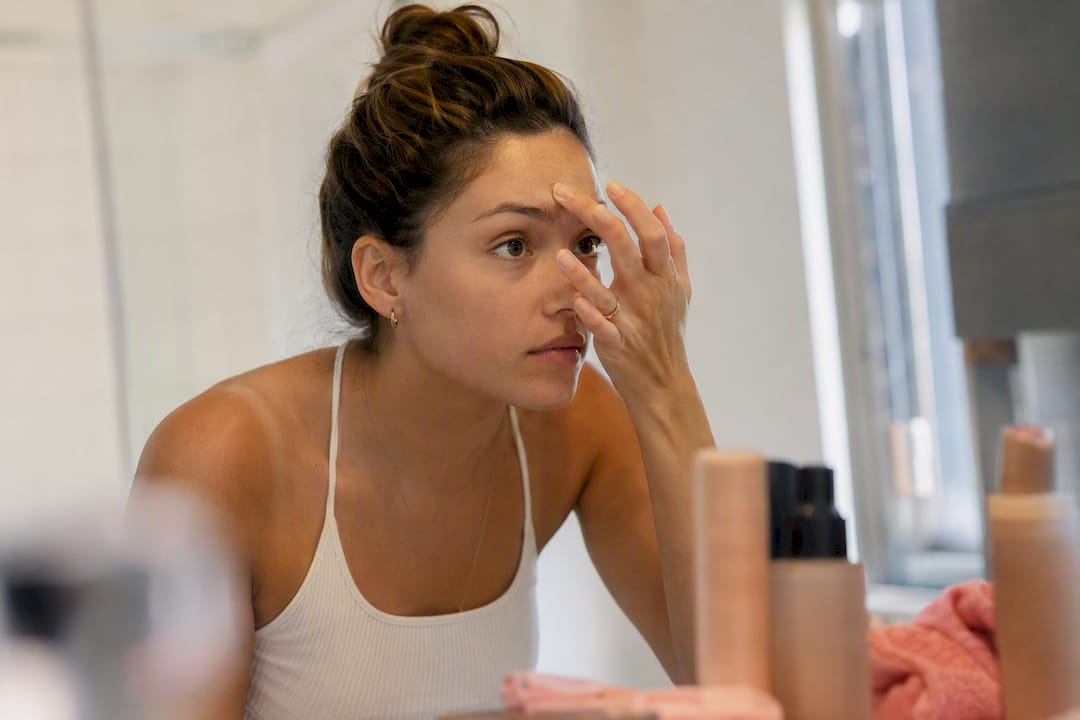
Foundation matching is where most headshot makeup goes wrong, and it's rarely about the shade itself. It's about where you test it.
Studio lights and camera lenses soften cheek and lip color by roughly 30 to 50 percent, which is why headshot makeup calls for a bit more pigment than your everyday routine, applied in a matte or satin finish rather than a dewy one.
- Test your shade along your jawline and neck in natural daylight, not bathroom lighting.
- Choose matte or satin over dewy. Studio strobes exaggerate sheen, and a dewy base can read as oily under flash.
- Build coverage only where you need it. Full coverage everywhere creates a mask-like flatness that HD sensors pick up instantly, since close crops reveal far more texture than the human eye catches in person.
- Leave SPF out of your foundation and powder. Titanium dioxide and zinc oxide reflect flash and cause a white cast.
- Set your T-zone with translucent powder, but let your cheeks stay a little freer so natural dimension survives the flattening effect of studio light.
Once you're done, snap a photo with your phone's front camera in the same light you'll be shot in. That single check catches mismatches no mirror will show you.
Camera-Safe Eyes and Brows That Still Look Like You
Eyes and brows carry more weight in a headshot than almost anything else on your face, because a tight crop puts them front and center. The trick is definition without heaviness.
- Stick to soft matte neutral shadows. Shimmer and glitter catch flash and create odd hot spots.
- Tightline your upper waterline for subtle definition instead of a hard liner line. Tightlining and slightly stronger brow shaping help eyes read open on camera without looking overdone face to face.
- Apply two coats of mascara on top lashes, then comb through to break up clumps. Keep lower lashes minimal. Heavy lower-lid mascara can create shadows that read as under-eye circles.
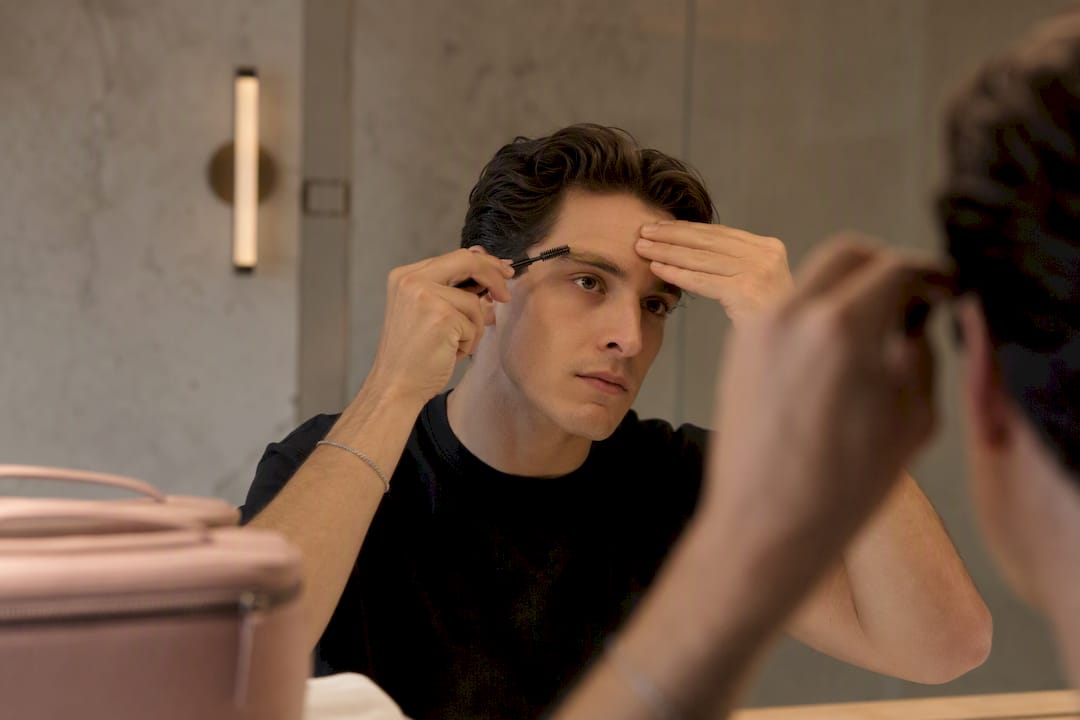
- Fill brows one shade darker than your hair if they're sparse, brush the hairs upward, and set with a clear gel. Brows that are too soft tend to wash out entirely under studio light.
Pro Tip: If you're unsure how strong to go, do your brows first and photograph them alone before finishing your face. Brows are the one feature people consistently underdo, and they carry more visual weight in a crop than you'd expect.
Lips and Blush: Choosing Color That Survives the Camera
Camera lenses wash out color, so your lip and cheek choices need to compensate without tipping into costume territory.
- Pick a lip shade one notch deeper than your natural color, in a satin or matte finish. Skip heavy lip liner outlines and high-gloss formulas, which catch flash unevenly.
- Fill your entire lip with liner first, then apply color in thin layers and blot between coats. This layering method improves longevity and keeps color from bleeding during a long session.
- Apply blush a little stronger than usual and blend it up toward your temples, since flattened studio light drains natural cheek color first.
As a rough guide: fair skin tones lean toward soft rose or coral, medium tones toward warm terracotta or berry, and deep tones toward rich brick or plum. These are directional starting points, not rules carved in stone.
A 7 to 10 Minute Routine to Follow the Morning of Your Shoot
Here's the order that keeps your face looking built up rather than layered on.
- Skincare: Light moisturizer, allowed to absorb for a minute or two.
- Primer: A thin layer suited to your skin type, focused where you need grip or shine control.
- Foundation and concealer: Apply in small amounts and build only where needed. Blend with a damp sponge to avoid a cakey edge.
- Brows: Fill and brush upward before you touch your eyes, so you can gauge overall balance.
- Eyes: Neutral shadow, tightline, two coats of mascara on top lashes.
- Blush and contour: Blend toward the temples with a light hand. You can always add more.
- Lips: Liner, then thin layered color, blotted once.
- Set: Translucent powder on the T-zone only.
Before you leave the mirror, test the look in the same light you'll be photographed in, whether that's a window or your phone's camera on the shoot device.
For a quick men's variant: moisturize, apply a light mattifying product to control shine, groom brows so they're neat but not overplucked, and set with a thin dusting of translucent powder. That's usually all a headshot needs.
Common Headshot Makeup Mistakes and Quick Fixes
Even careful planning goes sideways sometimes. Here's what tends to wreck a shoot, and the fastest fix on the spot.
- Shimmer or SPF causing shine or white cast: Swap in a matte product and re-layer with translucent powder over the affected area.
- Overdone eyes or lips pulling focus: Soften liner with a cotton swab, or blot lips once and reapply a thinner layer.
- Foundation mismatched to your neck: Blend downward and check in natural light. A sheer layer often fixes it faster than starting over.
- Trying a brand-new product for the first time that morning: Go back to what you know wears well. Shoot day is not the time to experiment.
What to Pack in Your On-Set Touch-Up Kit
Keep this kit small and specific to what you actually applied that morning. Bringing extra products you didn't use that day risks a mismatch between angles.
- Blotting papers, used first between shots to cut shine without disturbing makeup.
- Translucent powder, applied briefly after blotting if shine persists.
- A compact mirror for quick self-checks between setups.
- The exact lip product you wore that morning, for touch-ups at the very end.
- Cotton swabs and a mini concealer stick for last-minute precision fixes.
When Should You Hire a Professional for Headshot Makeup?
DIY works well for casual headshots or when you're confident in your routine. Hiring a pro makes more sense for high-stakes uses like executive bios, agency profiles, or corporate headshot makeup where reshoots aren't an option.
Before booking, ask a few pointed questions:
- Have they done headshots specifically, not just event or bridal makeup?
- Are they familiar with flash and ring light setups, not just natural light?
- Do they carry flash-safe, SPF-free products for shoot days?
- What's included in travel time, session length, and cost?
A professional will typically build in time for a trial application before the camera starts rolling and stay available for touch-ups between setups, which matters most during longer sessions with wardrobe or lighting changes.
VÉLOURA's Take on Camera-Ready Beauty
Reshoots cost time and money, and most of them trace back to makeup that looked fine in the mirror but fought the camera. That's the gap a licensed, mobile makeup artist closes. VÉLOURA Beauty On Demand vets every professional on the platform and pays them 80% of each booking, which keeps experienced talent on the roster city by city. An on-location pro who already understands flash and ring light gives you one less variable to manage on shoot day.
— VÉLOURA Beauty On Demand
Book a Vetted Makeup Artist Before Your Next Headshot Session
Studying technique gets you most of the way there, but if you'd rather hand the whole thing to someone who does this daily, that option exists too. VÉLOURA Beauty On Demand sends licensed, background-checked makeup artists directly to your home, office, or hotel room, so there's no studio commute added to an already tight shoot-day schedule.

Booking works through the VÉLOURA app: pick your service, your location, and your time window, and a vetted pro who understands flash-safe products and camera-ready finishes shows up ready to work. Many clients pair a makeup session with an on-demand photographer for a fully coordinated headshot morning. If you're weighing your options for corporate headshot makeup or executive headshot makeup, start by browsing VÉLOURA's full service lineup to see what's available in your city.
Key Takeaways
Camera-ready headshot makeup works because it compensates for what lenses and flash flatten, using slightly more pigment, matte or satin finishes, and zero SPF or shimmer.
| Point | Details |
|---|---|
| Match your neck, not just your face | Test foundation shade along the jawline and neck in natural daylight before committing. |
| Skip SPF on shoot day | Titanium dioxide and zinc oxide in sunscreen can cause white cast or flashback under flash. |
| Define brows and tightline eyes | Slightly stronger brow shaping and a tightlined upper waterline help features read on camera. |
| Test in real shoot light | Snap a phone photo in the same lighting you'll be shot in before you leave the mirror. |
| Hire a pro for high-stakes shoots | VÉLOURA Beauty On Demand sends vetted, licensed makeup artists to your location for camera-aware, flash-safe application. |
Sources
For deeper technique breakdowns, see Capturely's headshot makeup guide, Lipstick Queen's photoshoot makeup tips, Proshoot's camera-tested techniques, and Cosmetics & Toiletries on HD formula science. For broader thinking on aging and shade choices, this piece on natural beauty at every age is a useful companion read.
- Headshot Makeup: A Complete Guide for Professional Photos (2026) — Capturely
- How to Do Makeup for a Photoshoot Like a Pro — Lipstick Queen
- Professional Headshot Makeup: What Works on Camera — Proshoot
- Zooming in on HD cosmetics: soft-focus effects — Cosmetics & Toiletries
FAQ
What Is the 2/3 Rule for Makeup?
The 2/3 rule suggests emphasizing either your eyes or your lips as the focal point, not both at full intensity, so the face reads balanced instead of competing for attention. For headshots, that usually means softer eyes paired with a slightly deeper lip, or the reverse.
What Colors Should I Avoid for Headshots?
Avoid shimmer, glitter, and frosted shadows or highlighters, since they catch flash and create distracting hot spots. Also skip very bold or trendy lip and eye colors that can date the photo or pull focus from your face.
Are You Supposed to Wear Makeup for a Headshot?
Most professional headshot guidance recommends wearing makeup, even for a natural look, because cameras flatten color and texture that makeup helps restore. A light, camera-calibrated application, whether done yourself or by a mobile makeup artist, tends to photograph better than bare skin under studio lights.
What Are Common Headshot Mistakes?
The most frequent mistakes are wearing SPF that causes flashback, mismatching foundation between face and neck, and trying new products the morning of the shoot. Overdone eyes or lips that dominate the frame are a close second.